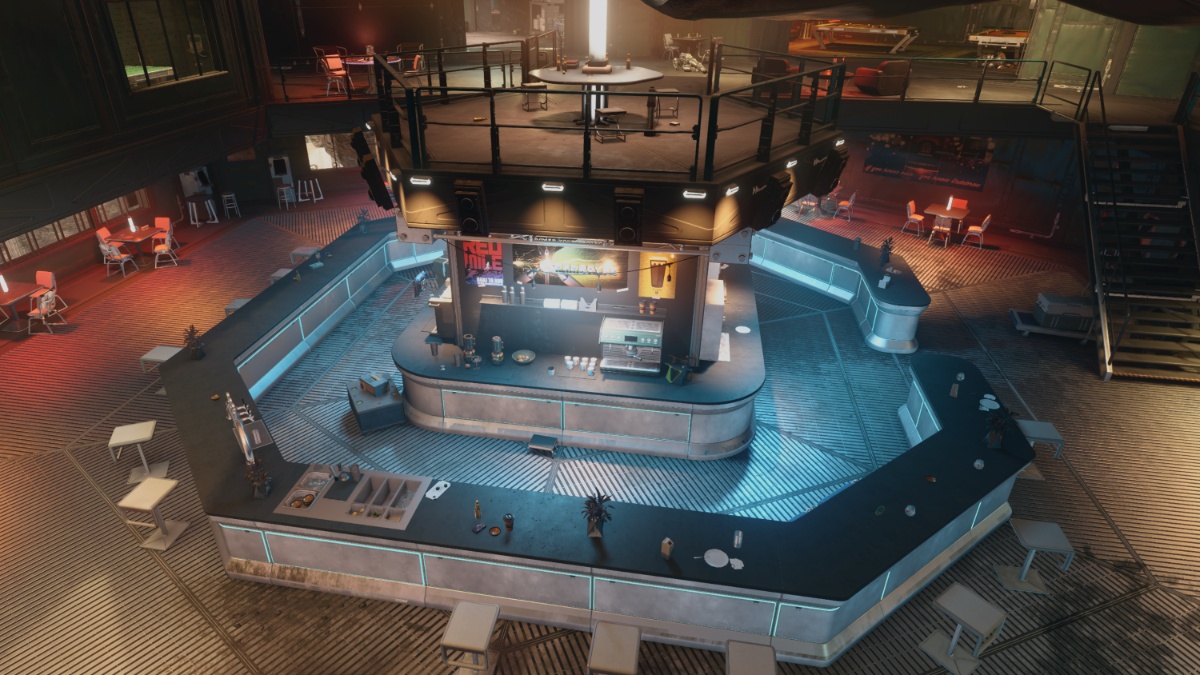
The Vulture’s Roost hideout is one of the best places in Starfield to get loot. You can find large amounts of Contraband, face high-level enemies for powerful weapons and armor, and gain access to a free Class A starship, all in one convenient location.
The hideout is a base of operations for the notorious Ecliptic mercenary group and is where the galaxy’s most ruthless ne’er-do-wells go to take a load off after a hard day’s pillaging.
However, the Ecliptic base can be a little hard to find. Thankfully, we go over how to get to the Vulture’s Roost base below, as well as a list of all its rewards.
Where to Find Vulture’s Roost in Starfield
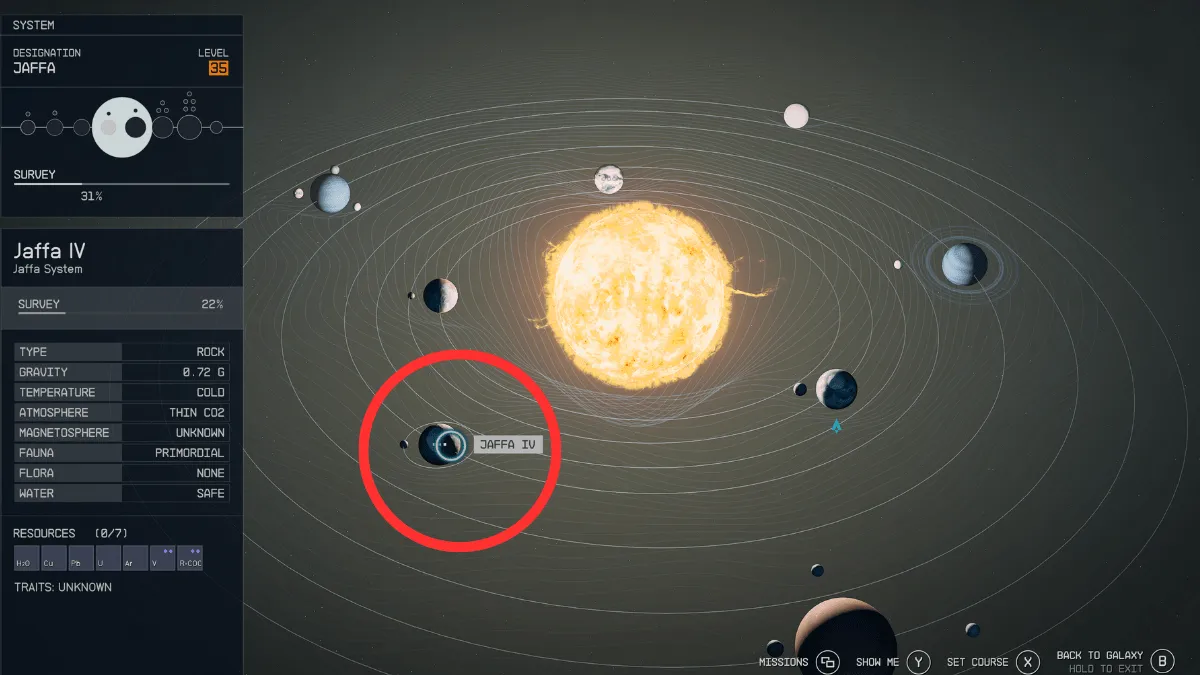
The Vulture’s Roost hideout is located on the Jaffa IV planet in the Jaffa system in Starfield.
Here’s the plotted course from Alpha Centauri to the Jaffa system on the Starmap:

Jaffa IV is the fourth closest planet to the system’s star:
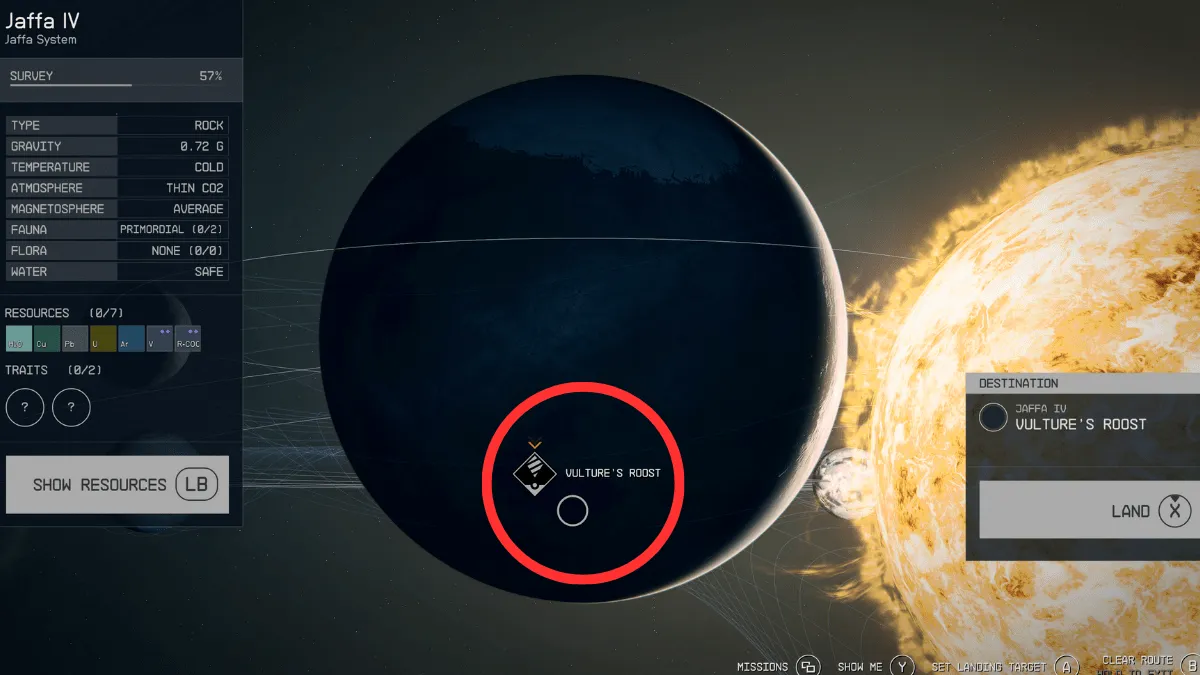
You’ll find the Ecliptic base at the Vulture’s Roost area on Jaffa IV:
You can learn about Vulture’s Roost by killing random Ecliptic enemies in Starfield and picking up a slate as a random drop. The slate has a message that details the location of the Vulture’s Roost base and initiates an “Activity” in your quest log.
However, you don’t need to find this message to go to Vulture’s Roost and get all of its rewards.
Starfield Vulture’s Roost: All Loot & Rewards
The Vulture’s Roost is a highly lucrative area with a variety of valuable loot, gear, and Contraband that can pocket you a decent amount of credits.
Here’s a list of all the loot and rewards you can find at the Vulture’s Roost:
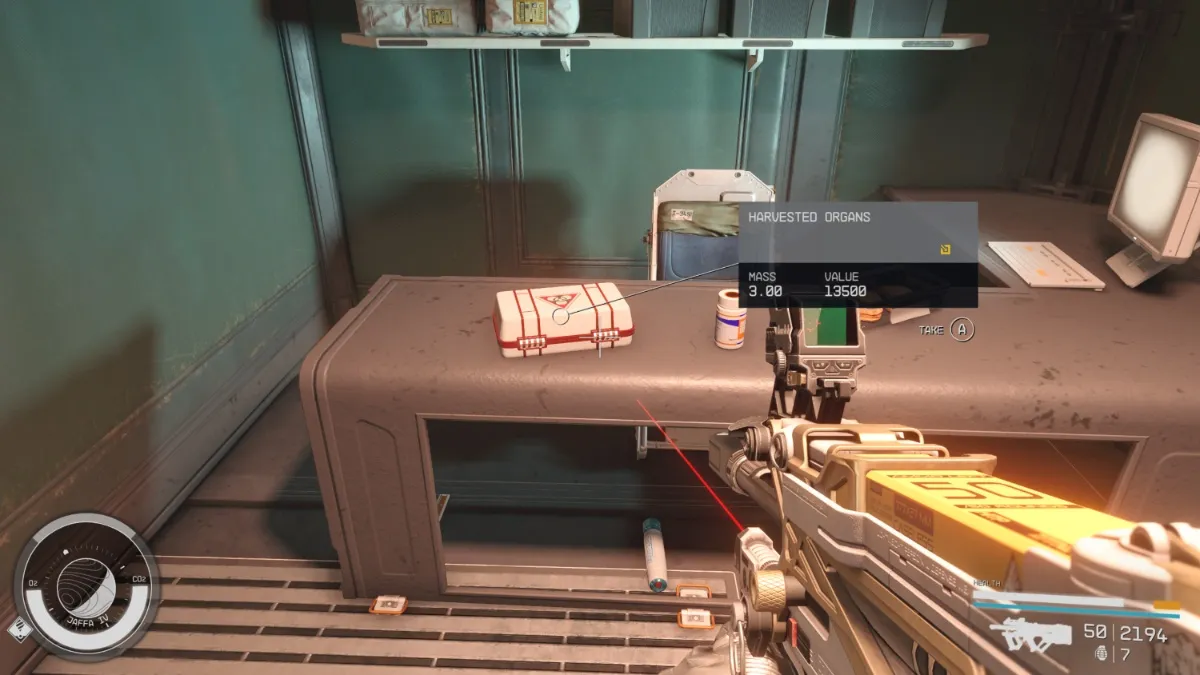
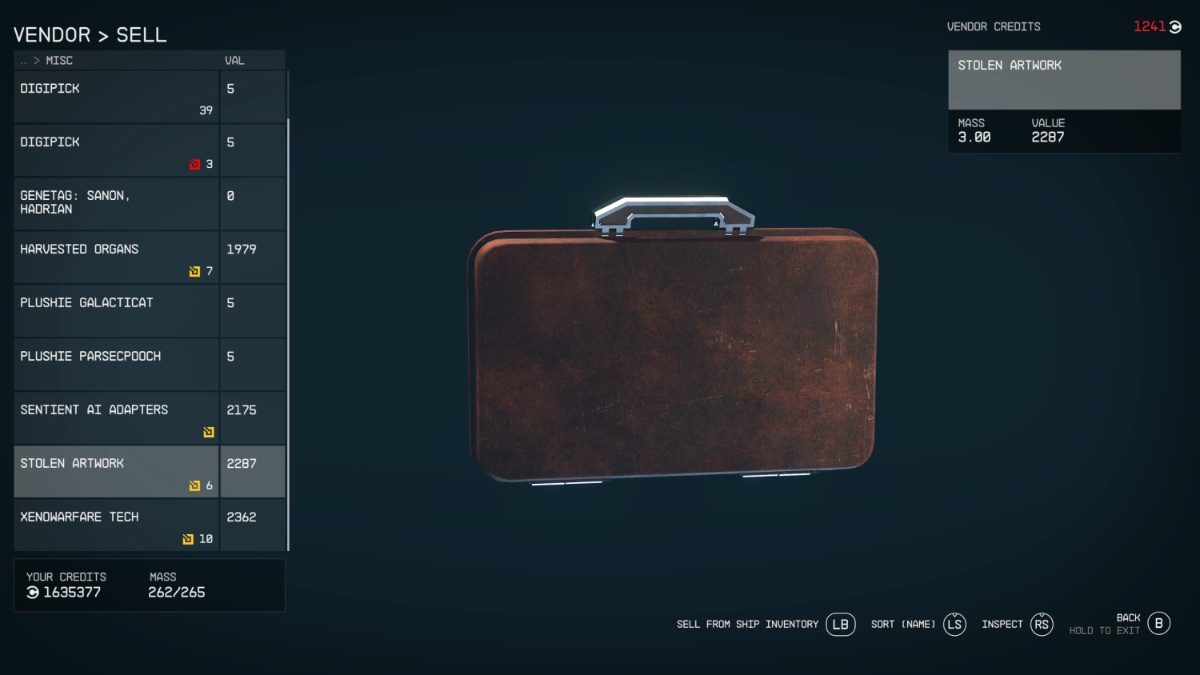
The Vulture’s Roost may be the area with the highest amount of Contraband in the game – you can find it lying around the base and in dedicated Contraband Cache chests.
Players have reported finding at least 30 Contraband items in the Vulture’s Roost. Contraband sells for a mighty high price to the right buyer, just make sure you go to the right place to sell it and that you have shielded Cargo installed on your ship, if you’re planning on hauling it anywhere else
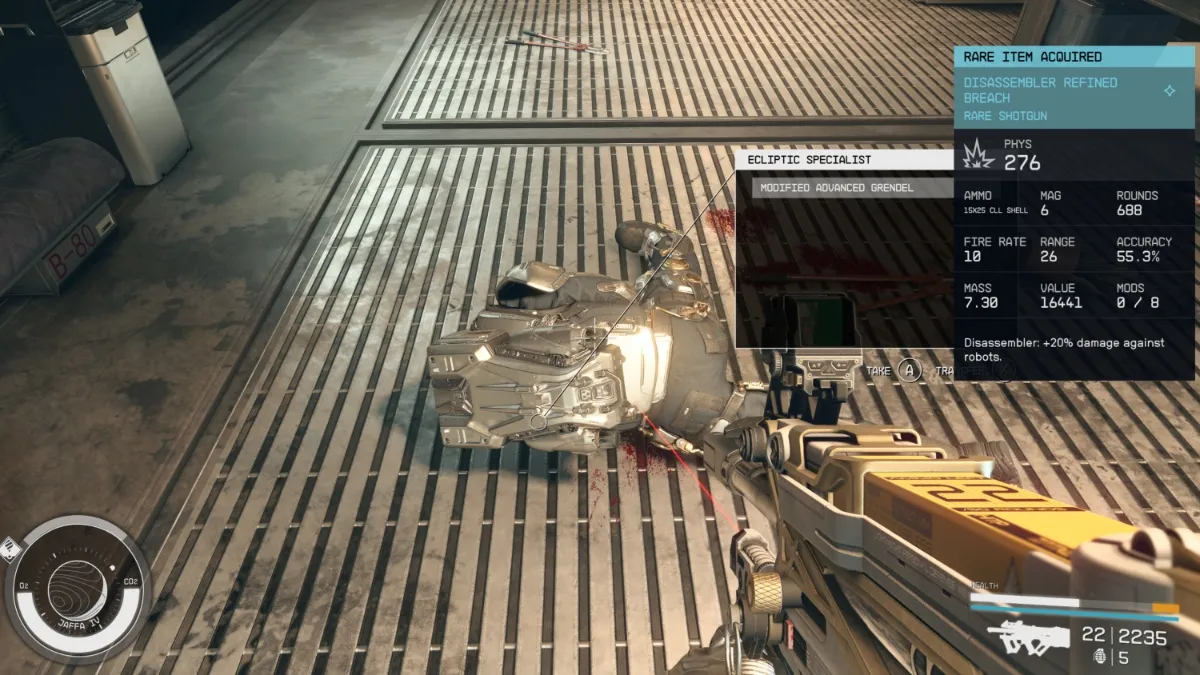
- High-level weapons and armor
As you’ll be facing higher-level Ecliptic enemies, there’s an increased chance of higher-tier weapons and armor to drop as loot when you defeat them
Vulture’s Roost is a high-level area, meaning that you’ll also stumble upon better gear when looting chests here.
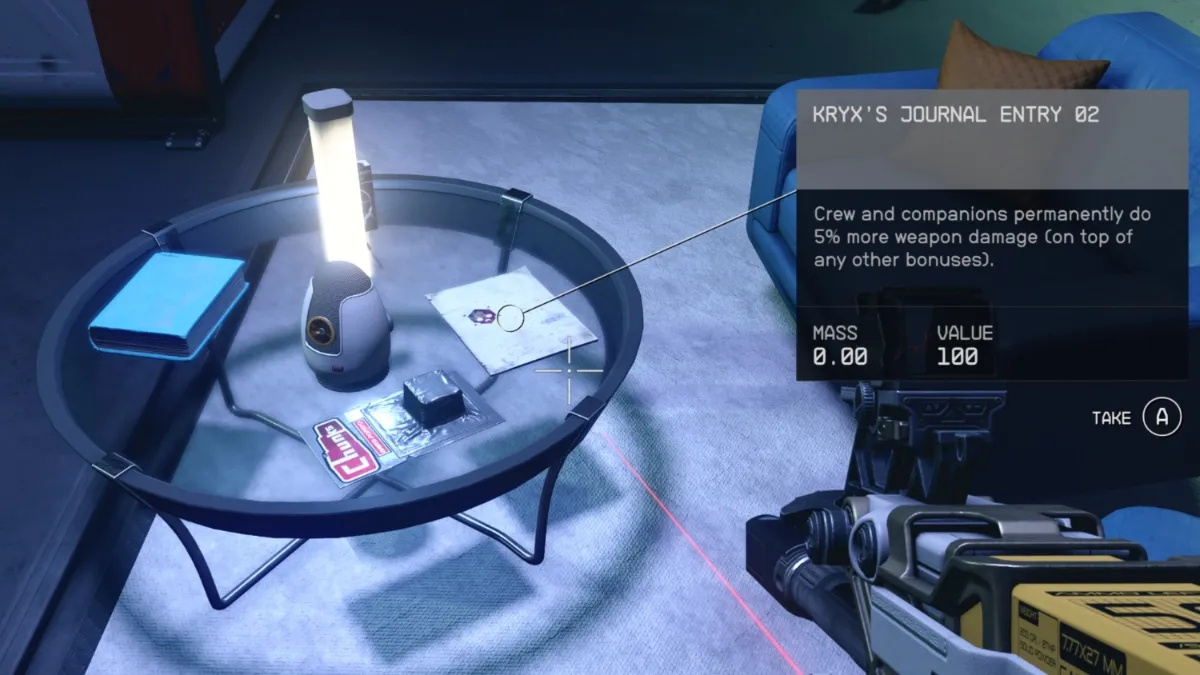
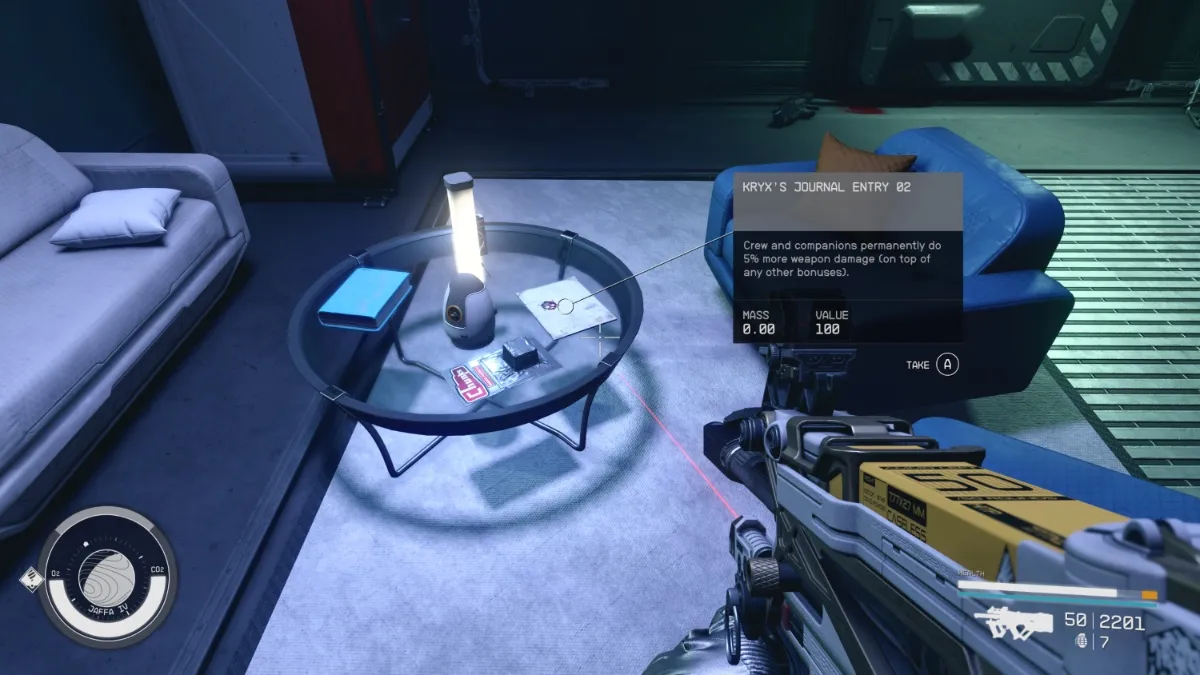
- A Kryx’s Journal Entry 02
Picking this up will permanently increase crew and companion weapon damage by 5%. It’s located on a coffee table above the jail cell in the Vulture’s Roost.
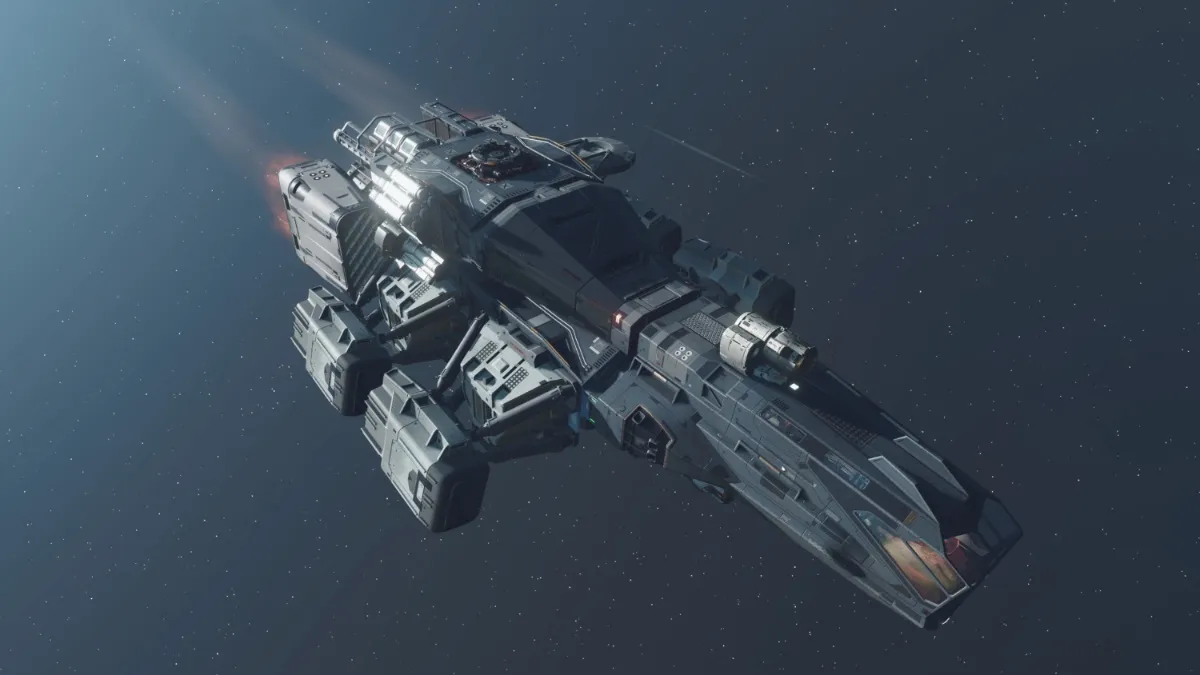
If all of that isn’t enough, you also get access to a free Ecliptic ship to cosplay as your favorite scumbag mercenaries as you traverse the galaxy!

Starfield Vulture’s Roost: How to Clear the Ecliptic Base & Get All Rewards
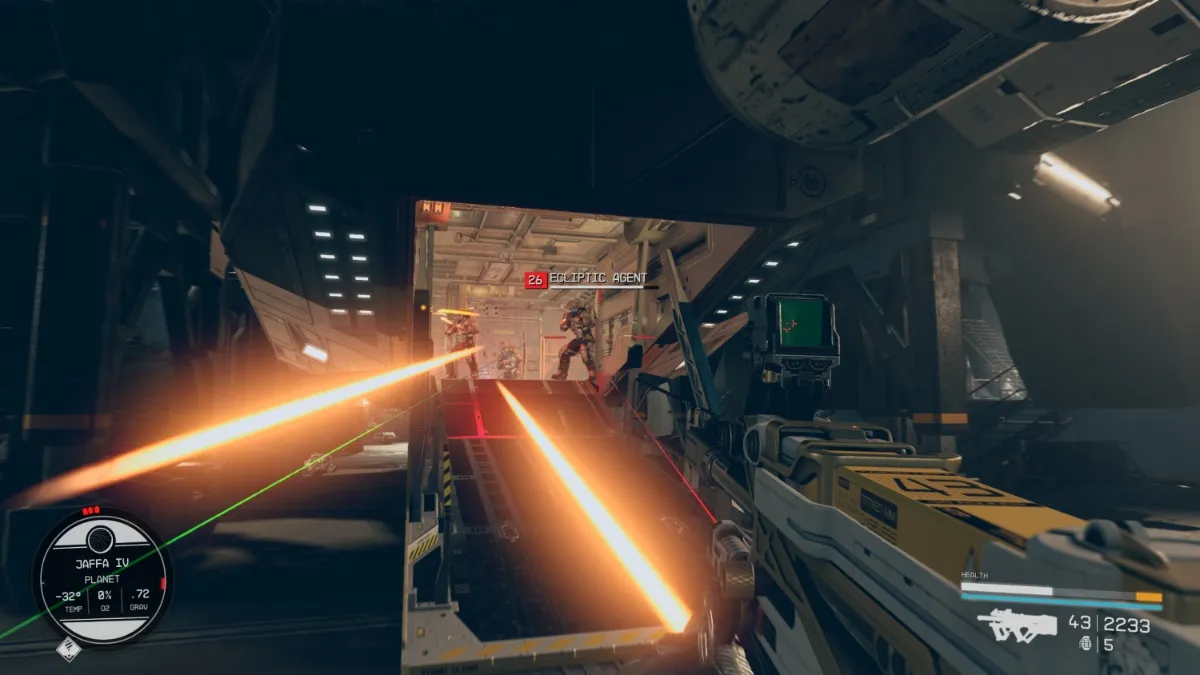
To clear the Vulture’s Roost of all enemies, you need to make sure you are at least level 30 and have enough ammo and Med/Trauma packs in your inventory to prepare for the intense firefights you’ll encounter here.
Though enemies will always scale to your level, as a level 35 system, the Ecliptic at Vulture’s Roost will push you to your limits.
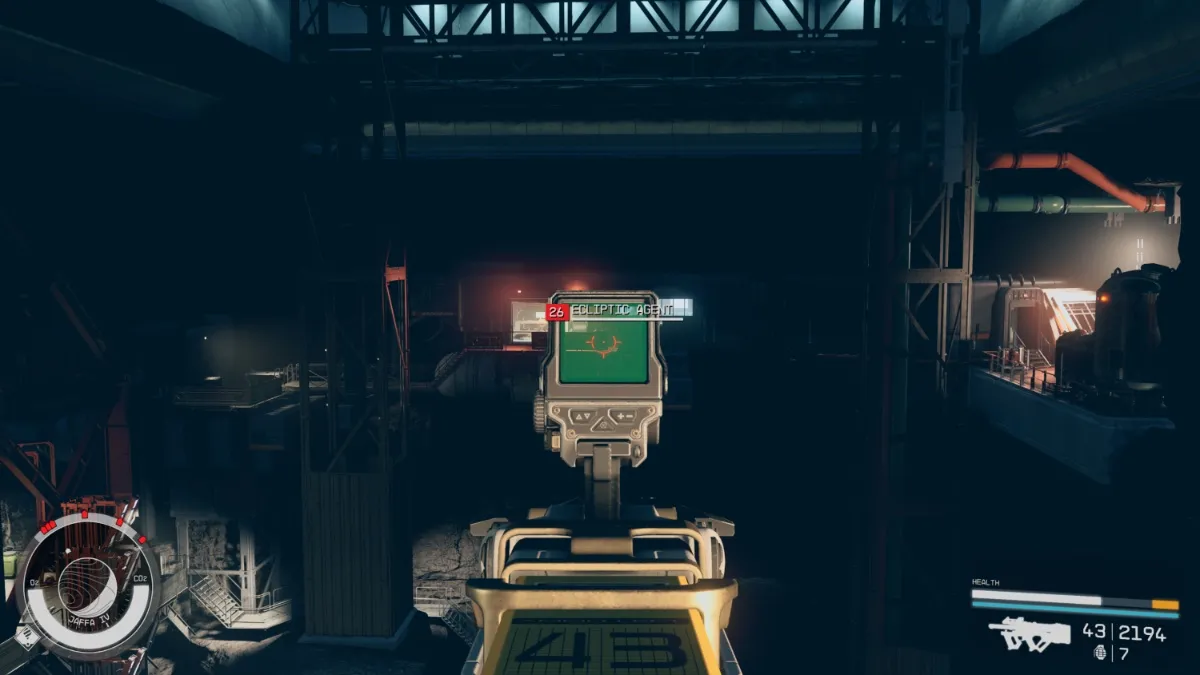
Elite enemies are always several levels higher than you – we encountered a level 45 enemy during our time at the Vulture’s Roost, for example.

We recommend investing in some of your Combat skills to make these fights easier. It’s also a good idea to rank up your Security skill to at least level 3 so you can unlock Master locks. Some of the best loot is within chests and Contraband Caches with a Master lock – bring your Digipicks!
Vulture’s Roost Guide
Follow these steps to get as many rewards as you can and make the most out of your time at the Vulture’s Roost hideout in Starfield:
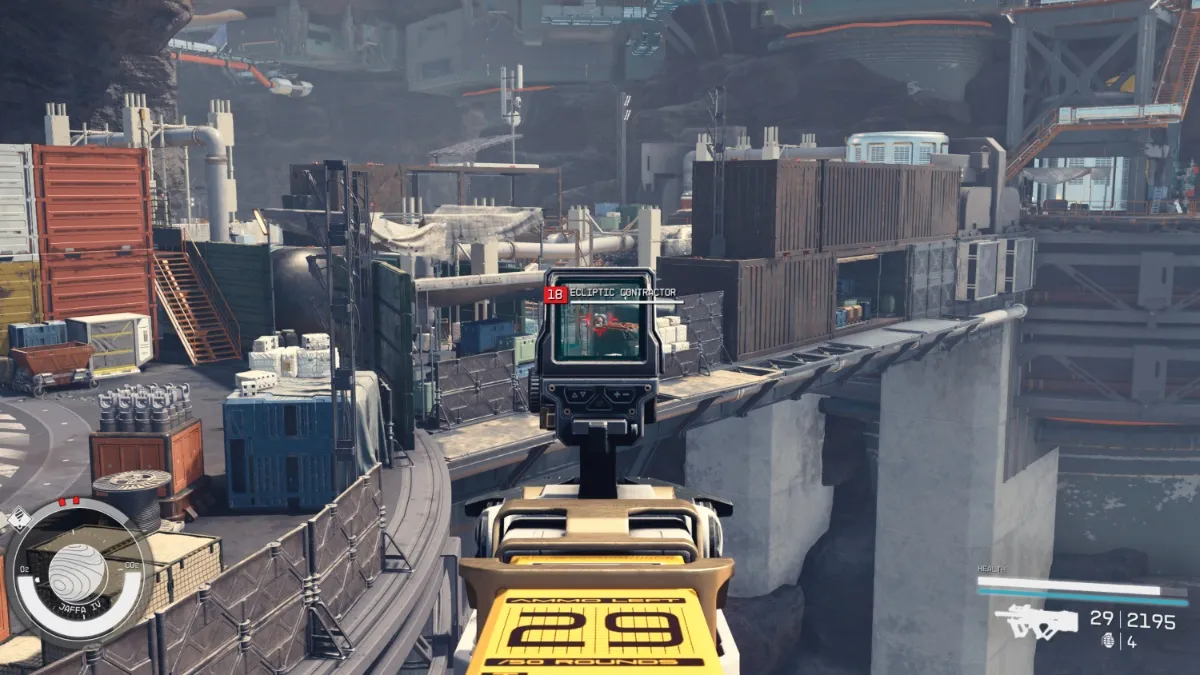
- Once you’ve landed at the Vulture’s Roost, defeat all the enemies near the landing pad
- If you’re having trouble, make sure to use the surrounding cover while taking out each enemy one by one
- Feel free to loot this outside area, though do note that all the good stuff is inside the base itself
- Follow the path up the stairs from the landing pad

- Head up the stairs to the upper level of the base
- Keep following the path, heading up any stairs you come across

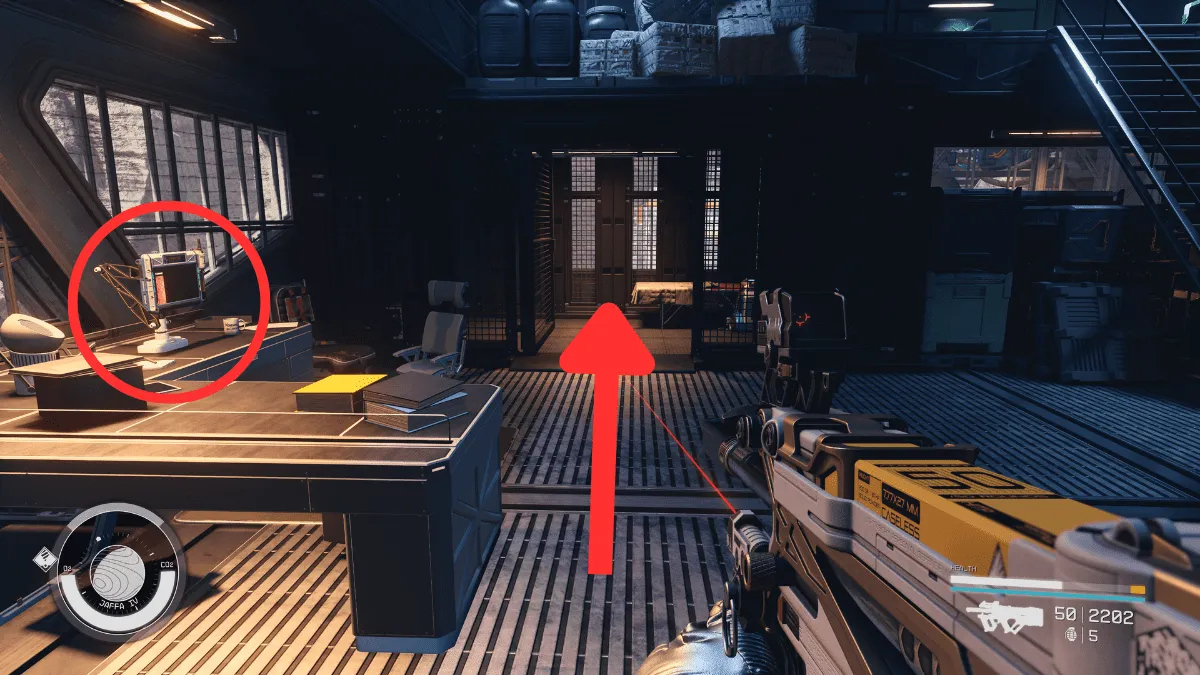
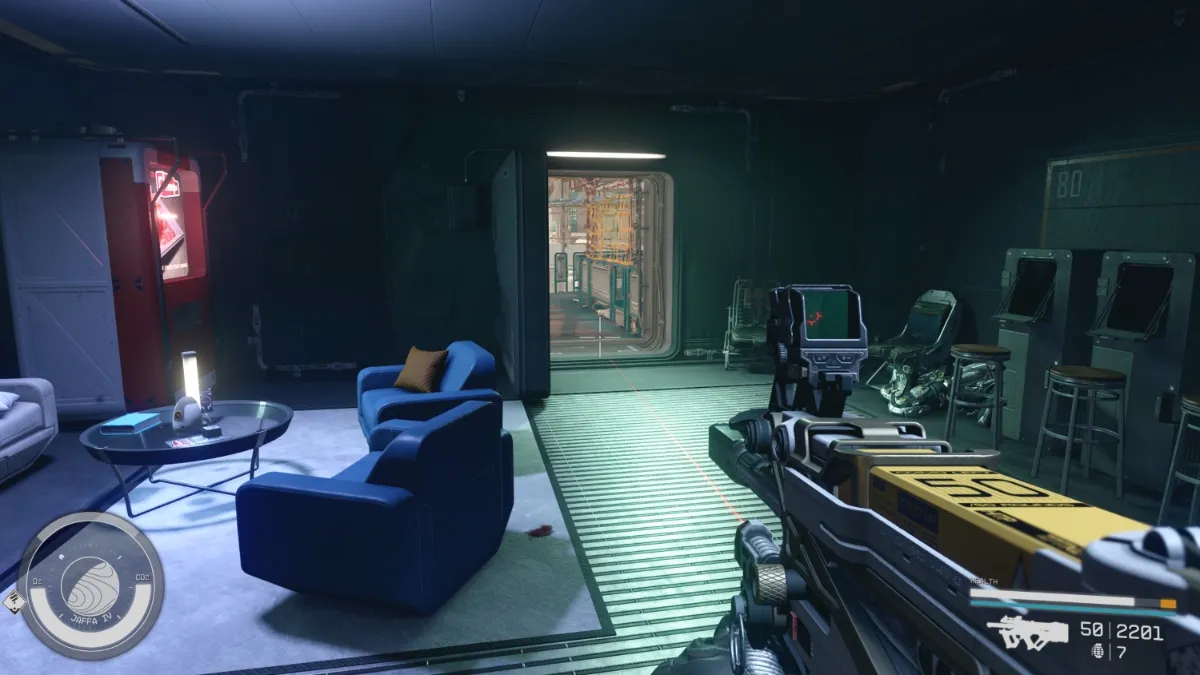
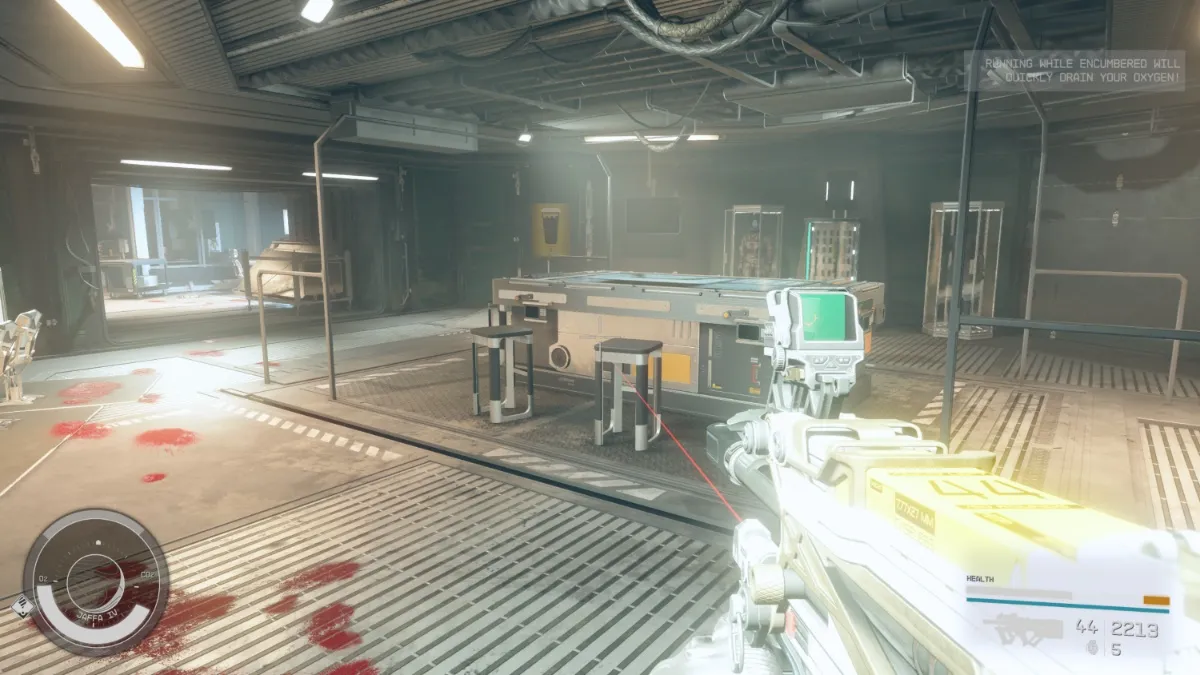
- Enter the room with the Jail Computer on the desk next to the bed
- Hacking the Jail Computer will open the adjacent door
- This area has randomized loot – we found Aurora and Credsticks
- Directly above this up the stairs from here, you’ll find a Kryx’s Journal Entry 02 on a coffee table
- The magazine will permanently increase crew and companion weapon damage by 5%
- There will be some more Ecliptic enemies here to take out
- Head out of the room through the door near the coffee table onto the catwalk outside
- Take your first left while on the catwalk and head through the adjacent room
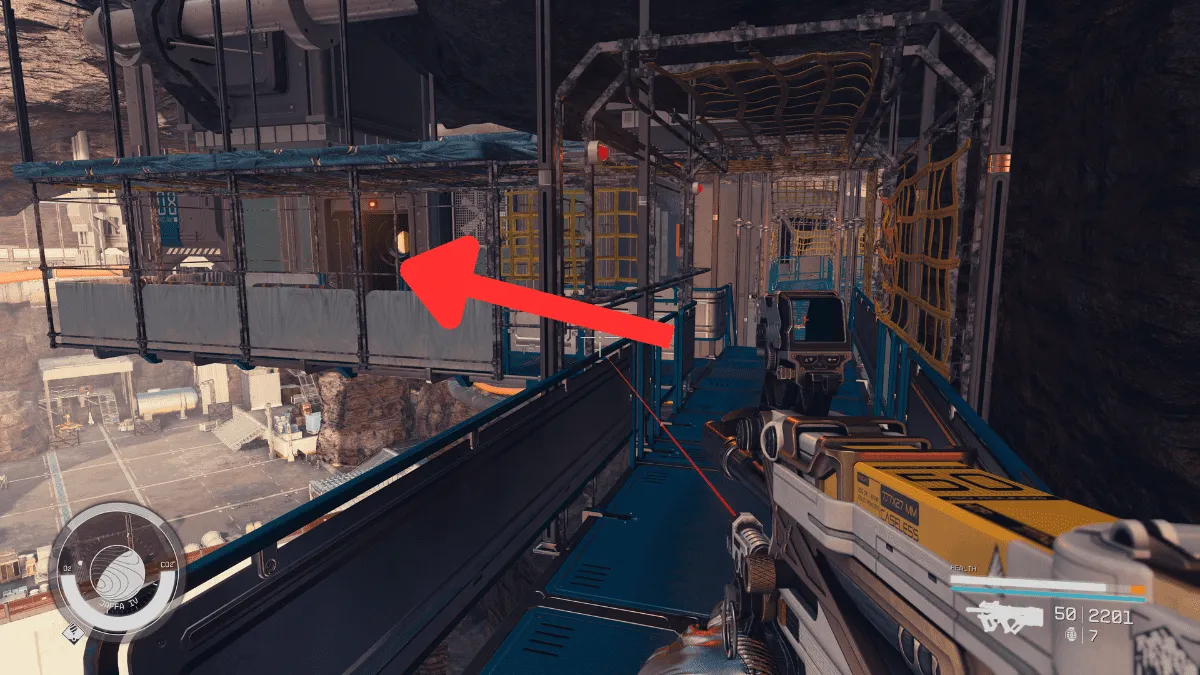
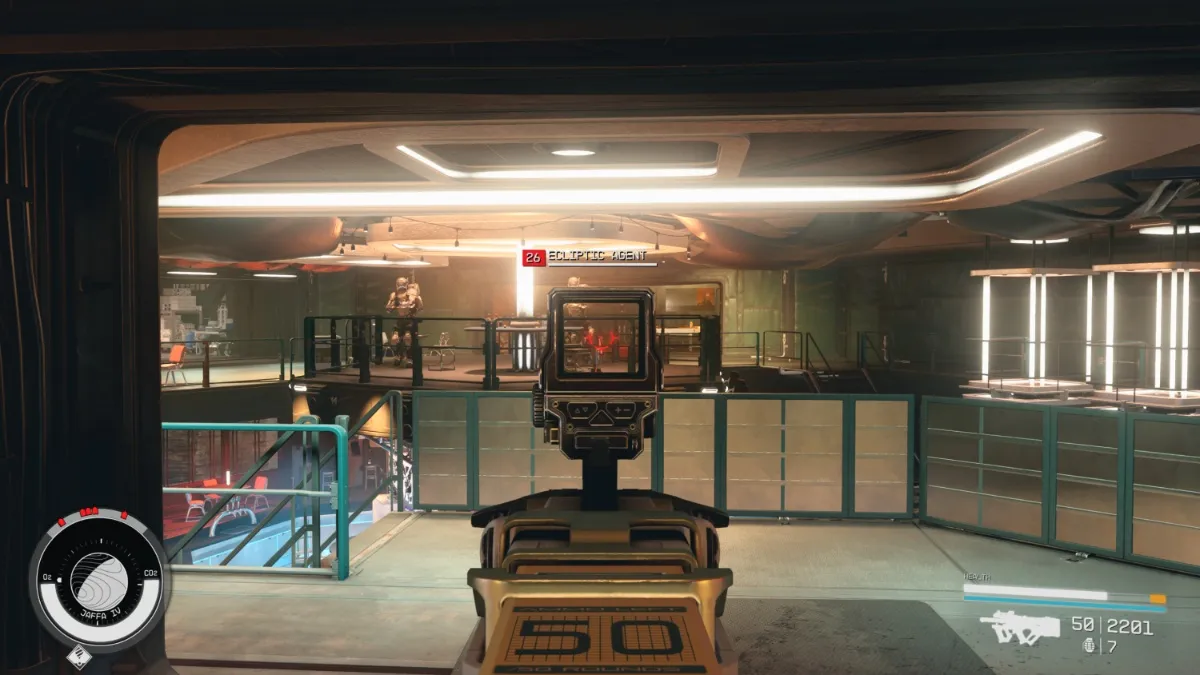
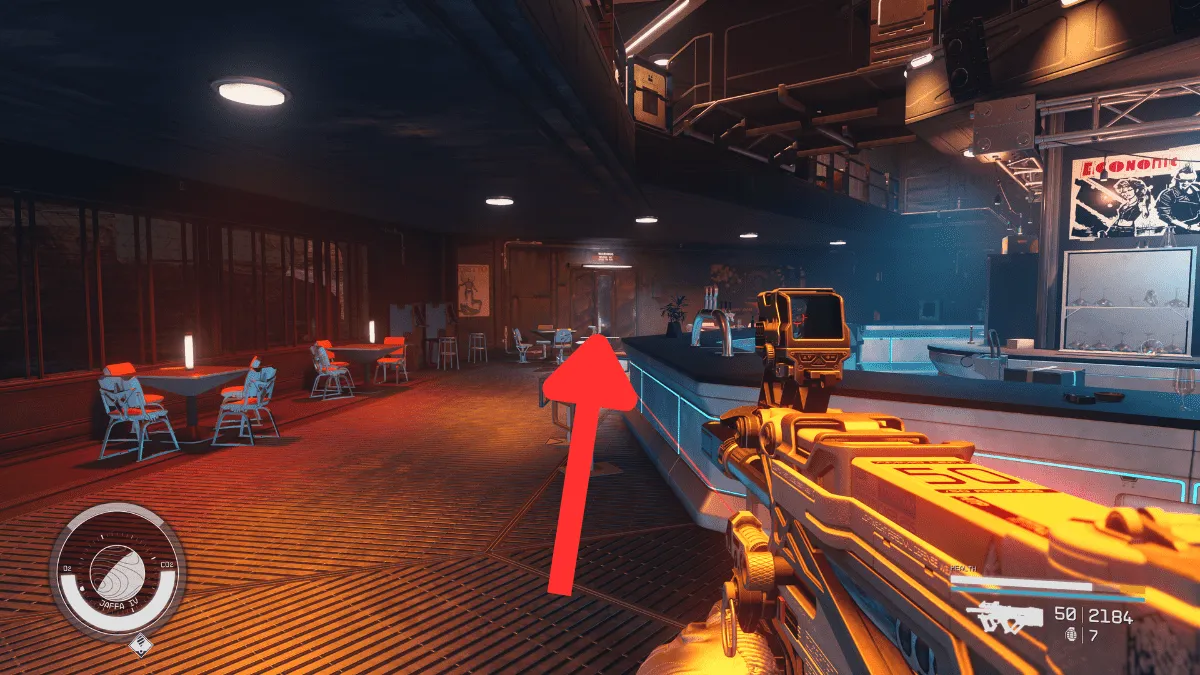
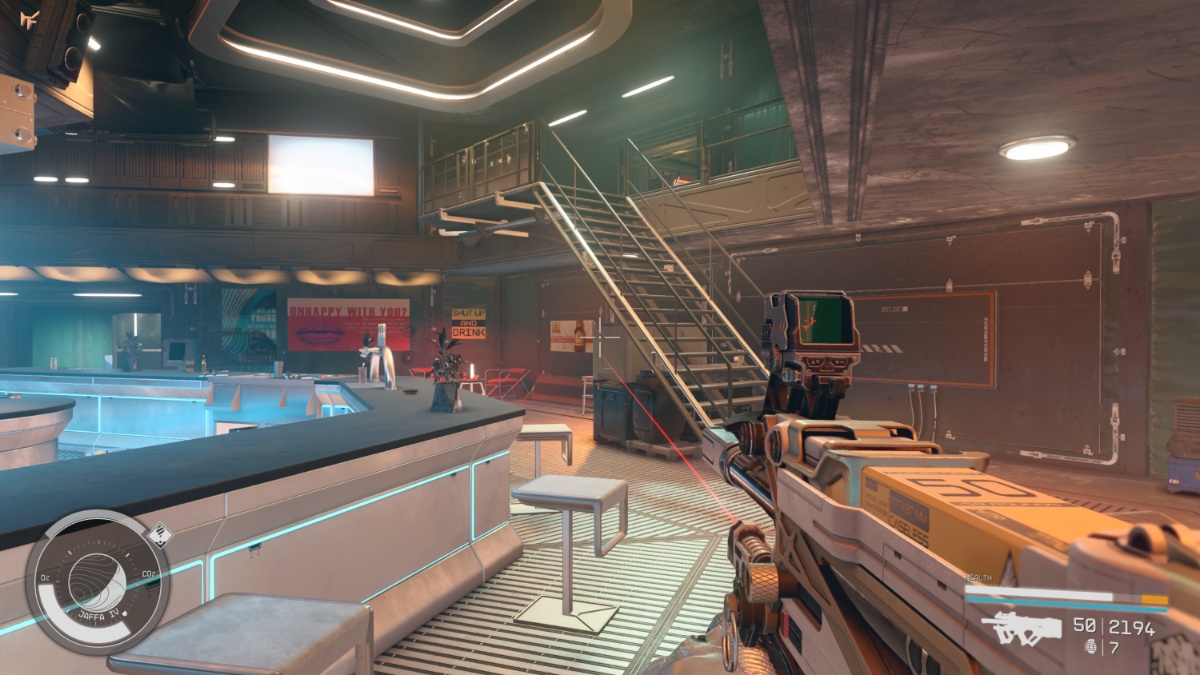
- Enter the upper level of the bar area
- Various Ecliptic enemies will be waiting for you – take them out
- Head to the bar’s kitchen
- After eliminating all Ecliptic enemies in the area, head downstairs to the kitchen
- The door is located behind the bar – you’ll need to unlock the door to get in
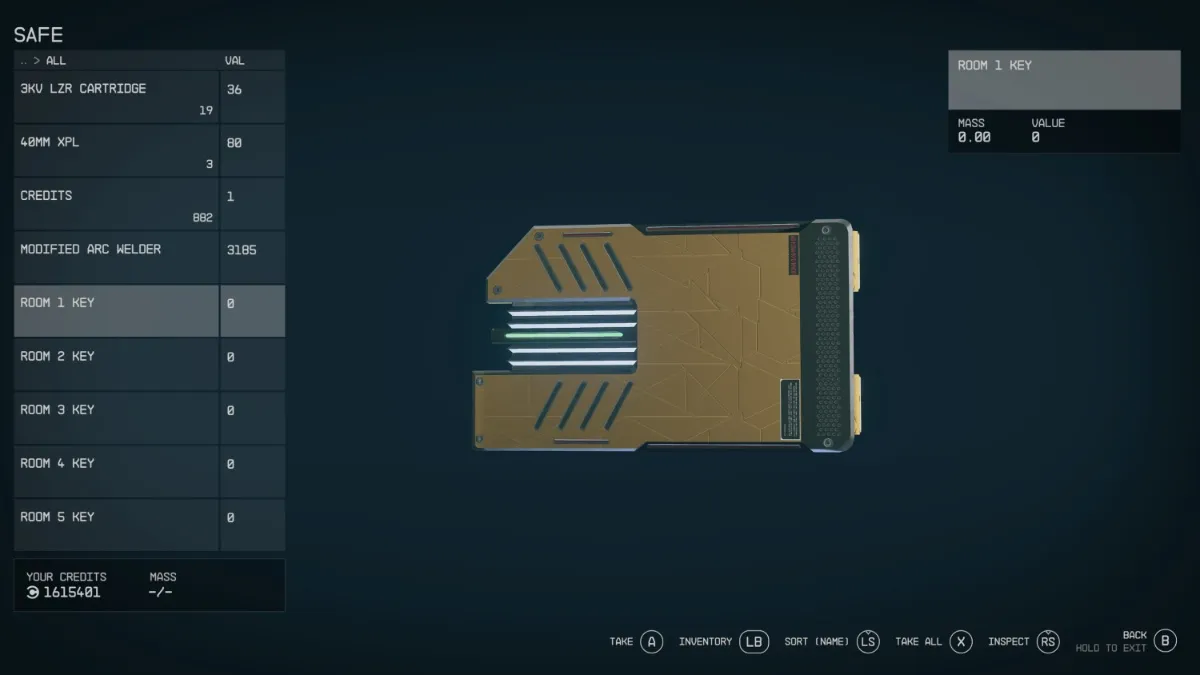
- Unlock the safe at the back of the kitchen
- You’ll find a safe with an Advanced lock
- Make sure you have the correct rank in your Security skill
- You’ll find a safe with an Advanced lock

- Loot the Room Keys in the safe
- Inside you’ll find 5 Room Keys
- Head out to the living quarters
- Head out of the kitchen and make a left towards the living quarters
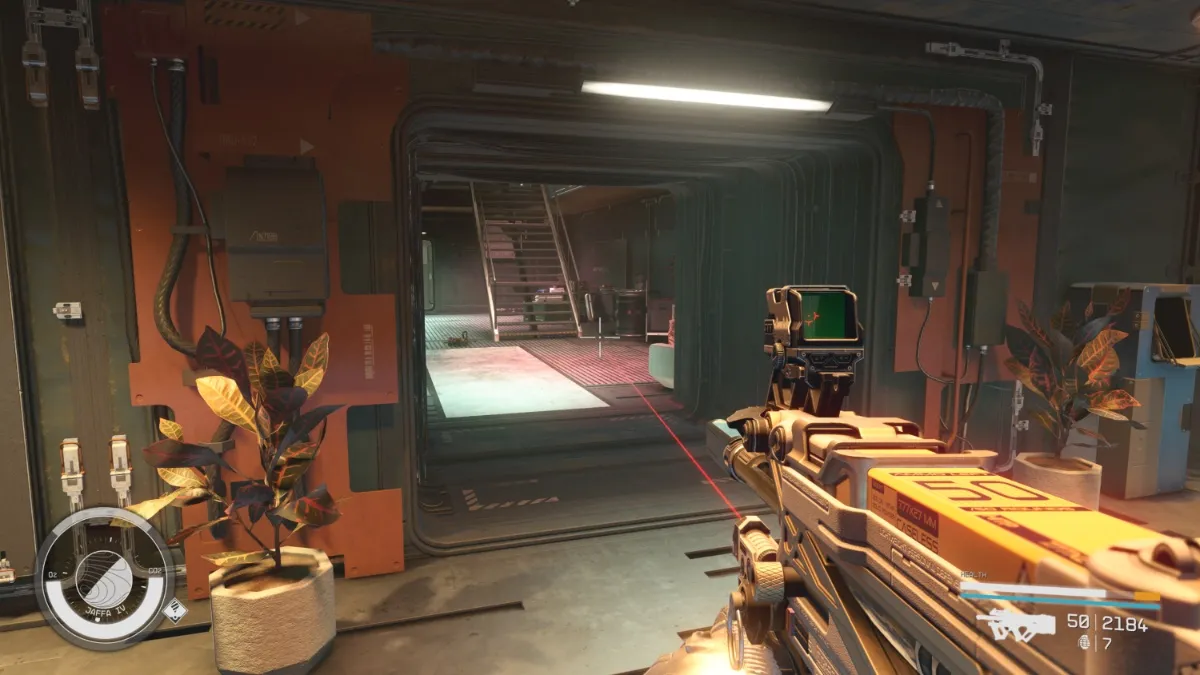
- Use the Room Keys to unlock and loot the five rooms in the living quarters
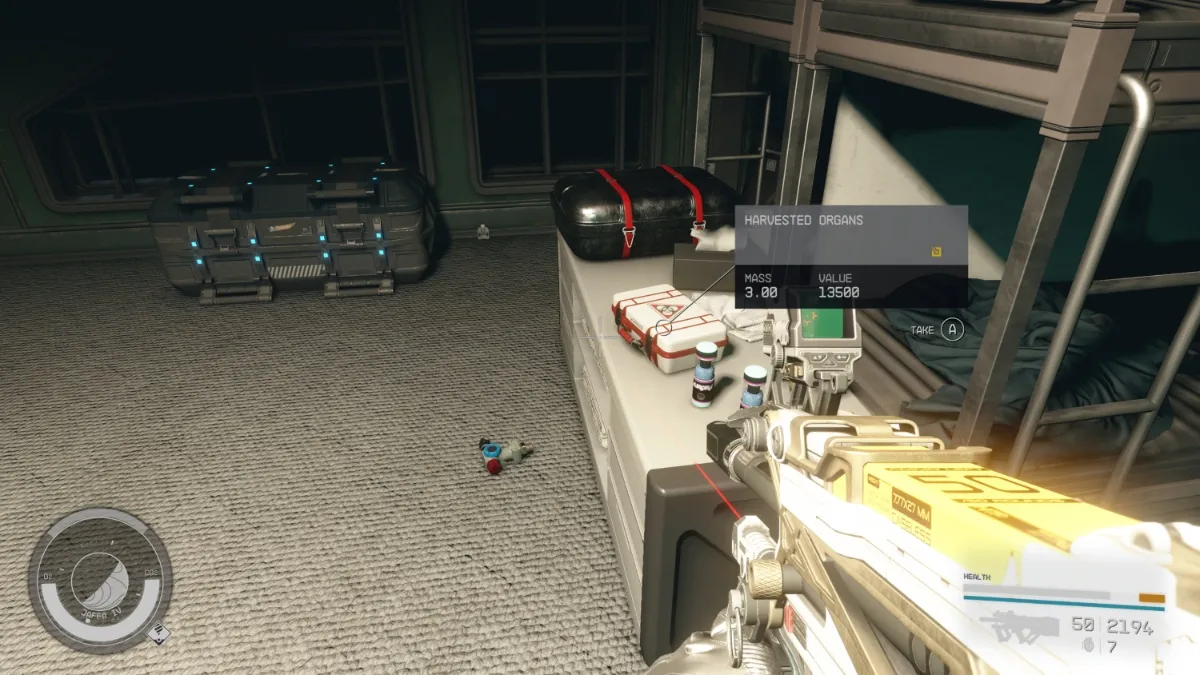
- Each room will have random loot inside as
- A few of them will have Contraband caches inside as well as Contraband items lying around
- Head back up the stairs near the bar and
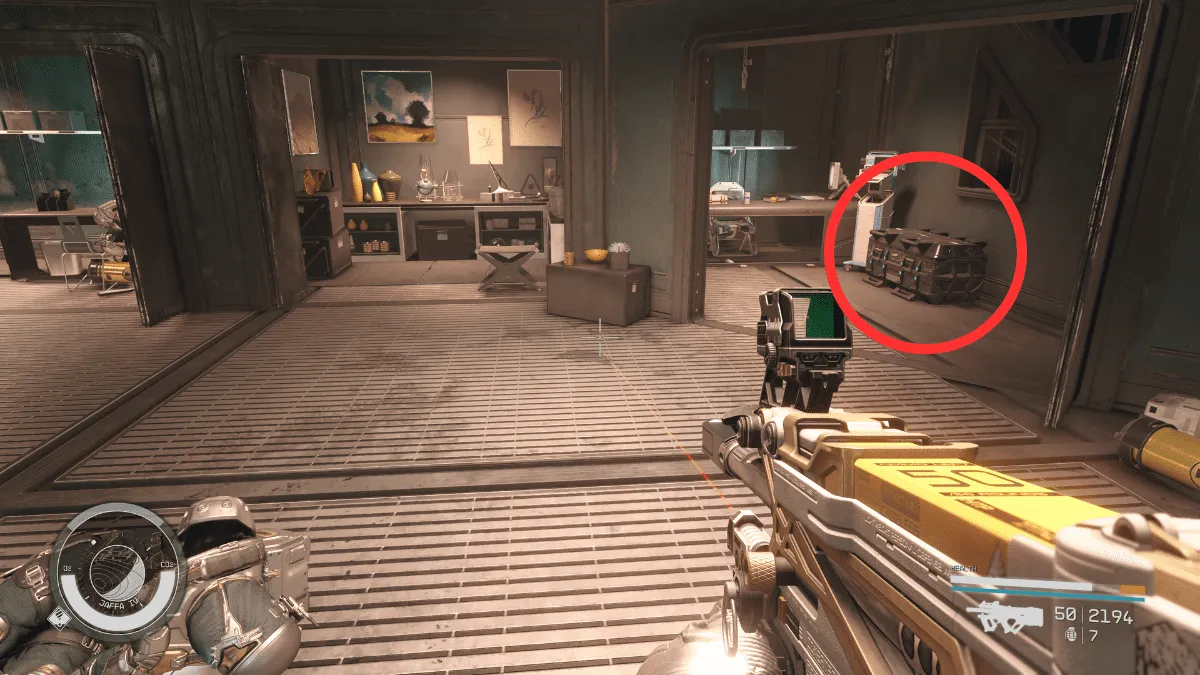
- Head back to the upper level and go to the large area to the left
- Loot all chests, safes, and Contraband caches
- Some of these are behind locked doors that need to be unlocked using a Digipick
- There’s an assortment of safes, chests, and caches that contain lots of Contraband!
- Continue through this room onto the adjacent catwalk outside

- You’ll encounter more Ecliptic enemies – take them out!
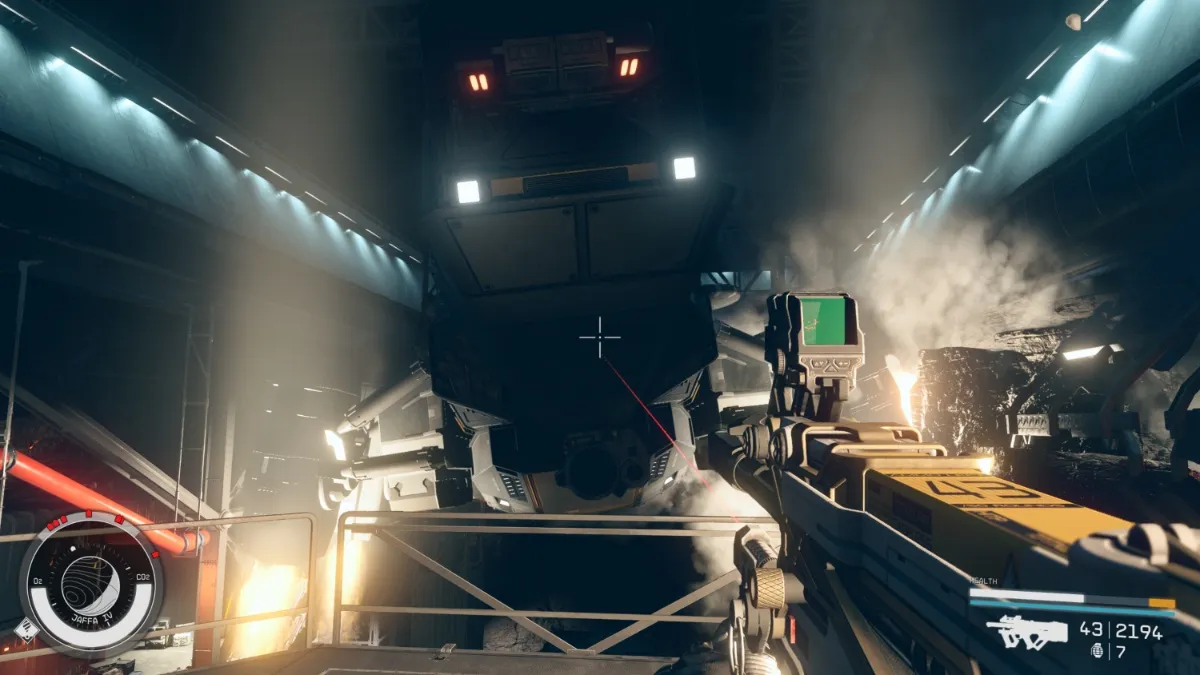
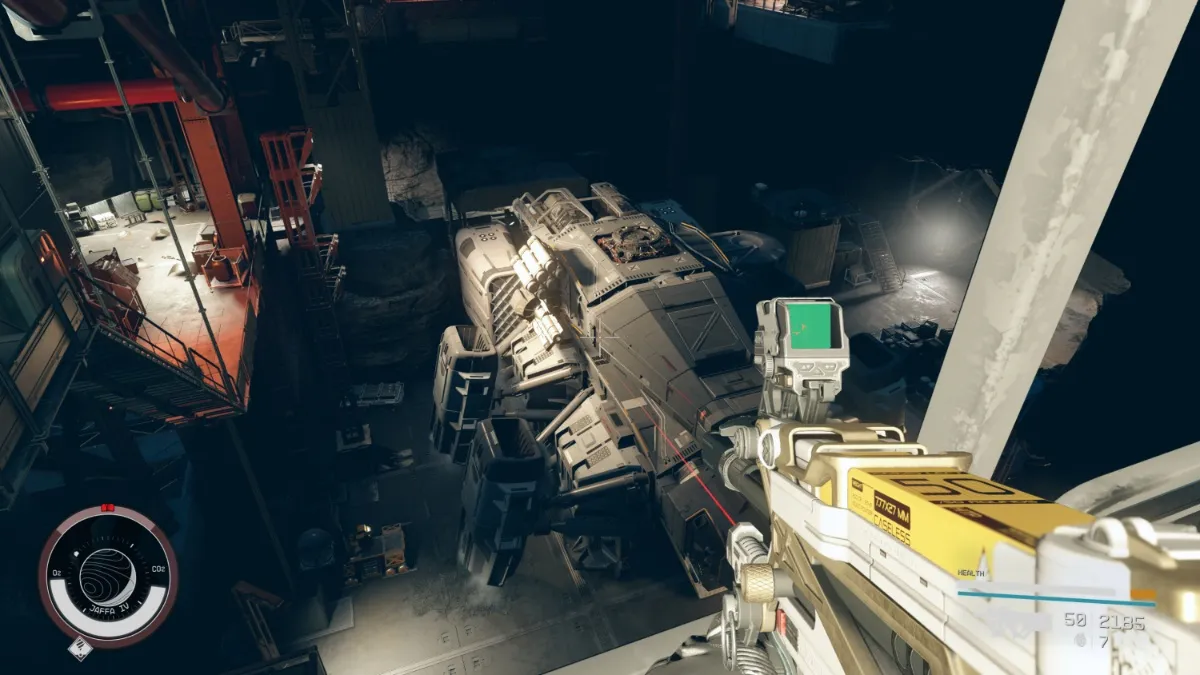
- While fighting, the Dagger Class A ship will land in the landing area in front of you
- More Ecliptic enemies to eliminate!
- Explore the room along the catwalk for some weapons and gear
- You may encounter a high-level elite enemy here!
- Head to the Dagger ship
- Make sure you’ve done a full sweep of the place heading down to the ship
- Kill the enemies outside the ship
- Board the ship and kill the remaining Ecliptic enemies
- Get into the pilot’s seat, and it’s all yours!

Although not the best ship in the game by any means, you can sell the Dagger at any Ship Services Technician after registering for some extra credits.
Speaking of credits, you’ll want to sell off all of that Contraband before your ship is scanned in UC-occupied space!
Where to Sell Contraband From Vulture’s Roost in Starfield
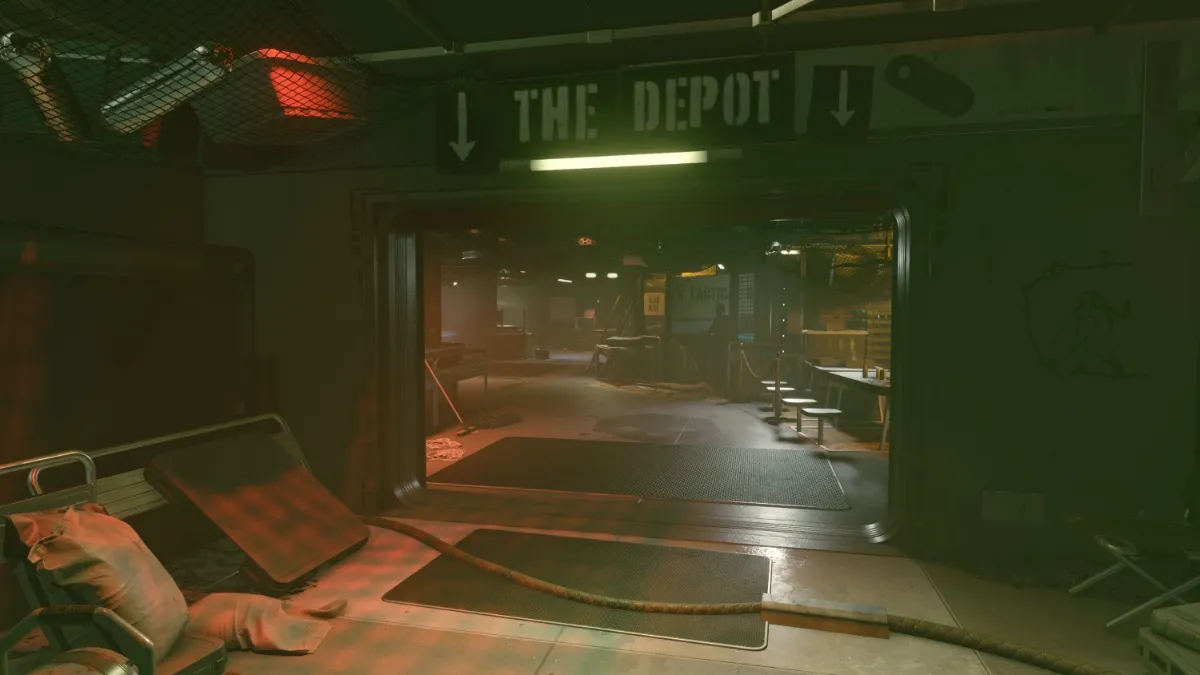
The best place to sell the Contraband you acquired from the Vulture’s Roost is at the Key in the Kryx system in Starfield. This is because it has a total of six vendors all located in one area that you can sell Contraband to.
The Depot area at The Key has a total of six vendors all in one location. Altogether, there is a total of 38,000 credits that vendors can use to buy Contraband from you at the Key.
Below is the plotted course from Alpha Centauri to the Kryx system in Starfield’s Starmap:

Here are all the vendors (in order of appearance) at the Key and the amount of credits they each have:
- Aludra Tahan, Weapons – 4,500 credits
- Taryn Kallis, TK’s Tactical Gear – 5,000 credits
- Isra Liskova, General Goods – 3,500 credits
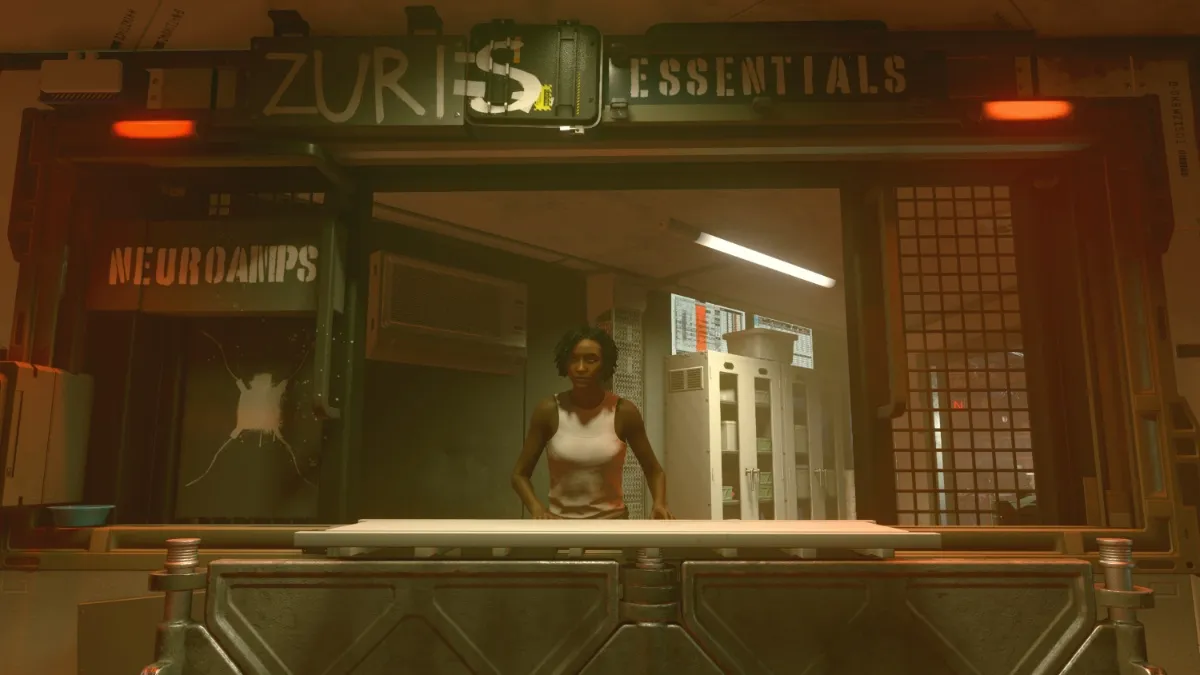
- Zuri Abara, Zuri’s Essentials – 12,500 credits
- Radley Jaso, Trade Authority – 11,000 credits
- Samina Mizrah, Clinic – 1,500
If you do not have access to the Key, you can travel to the Den in the Wolf system in Starfield and sell Contraband to the Trade Authority.
It’s another great choice to sell Contraband, though they only have 11,000 credits in their stock. You will have to wait 48 hours to refresh their stock so they have enough credits to buy from you!
